
Weather Stripping Repair
Book a service call today, and one of our garage door specialists will be happy to take a look at your door and make any necessary repairs.
GET IN TOUCH WITH US
If your garage door’s weather stripping is damaged, it can cause a number of problems. Not only will it be less effective at keeping out the cold, but it can also allow pests and other unwanted guests to enter your home. Fortunately, weather stripping is relatively easy to repair, and doing so can help keep your garage door in good condition for years to come.
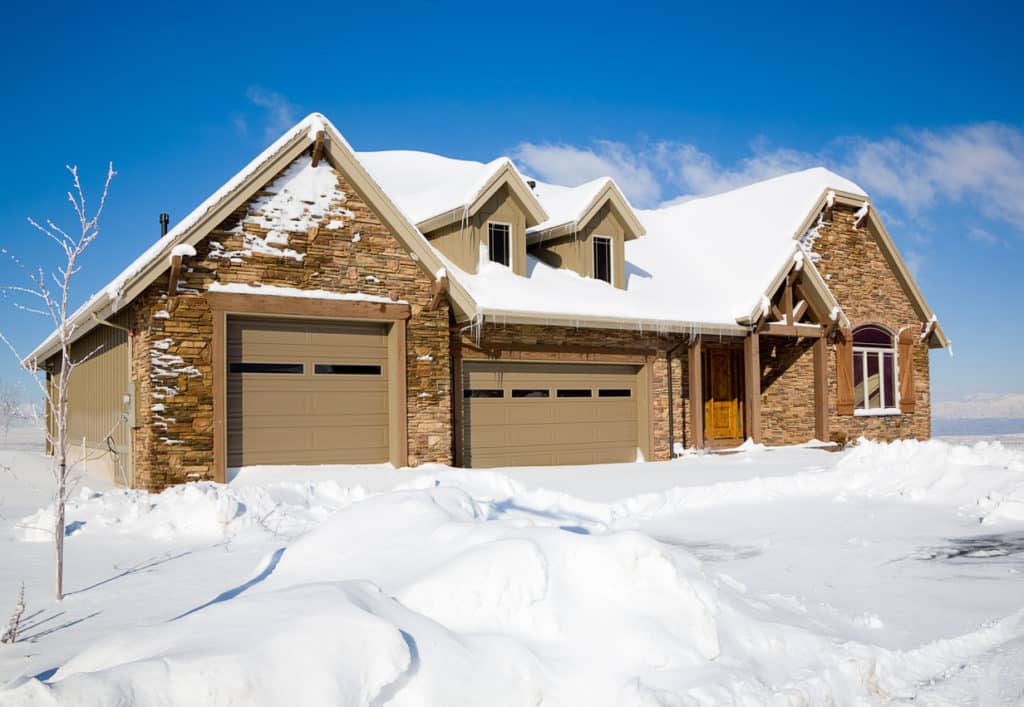
How to Repair Your Garage Door Weather Stripping in 5 Easy Steps
Imagine stepping into your garage on a bitterly cold winter morning, only to find that the freezing air has seeped in and turned it into an icebox. As you huddle in your coat, cursing under your breath, you take a closer glance at your garage door and realize that damaged weather stripping is the culprit. Fear not – repairing your garage door weather stripping can be as simple as pie with our 5 easy steps, so that you can reclaim your space and escape the chill, while also ensuring energy efficiency.
Repairing weather stripping on a garage door can be done in just a few easy steps. First, remove the old weather stripping and clean the area thoroughly. Next, measure and cut new weather stripping to fit the length of the garage door. Finally, attach the new weather stripping securely to the bottom of the garage door. Alternatively, customers can contact a knowledgeable technician at Canadoor Garage Doors to perform this service for them.
Assessing Weather Stripping Damage
When it comes to repairing garage door weather stripping, the first step is to assess the damage. Inspect the weather stripping for cracks, holes, or tears that could allow water, pests, or cold air into your garage. Identifying these issues early can prevent more extensive damage in the long run.
For instance, if you notice a crack in your weather stripping and leave it unattended, water may eventually seep through and cause mold growth or even rotting of the wooden parts of your garage door or walls.
Checking for weather stripping damage at least twice a year is important for maintaining the integrity of your garage door system.
Now that we’ve established why assessing weather stripping damage is crucial, let’s discuss how to identify common problems.
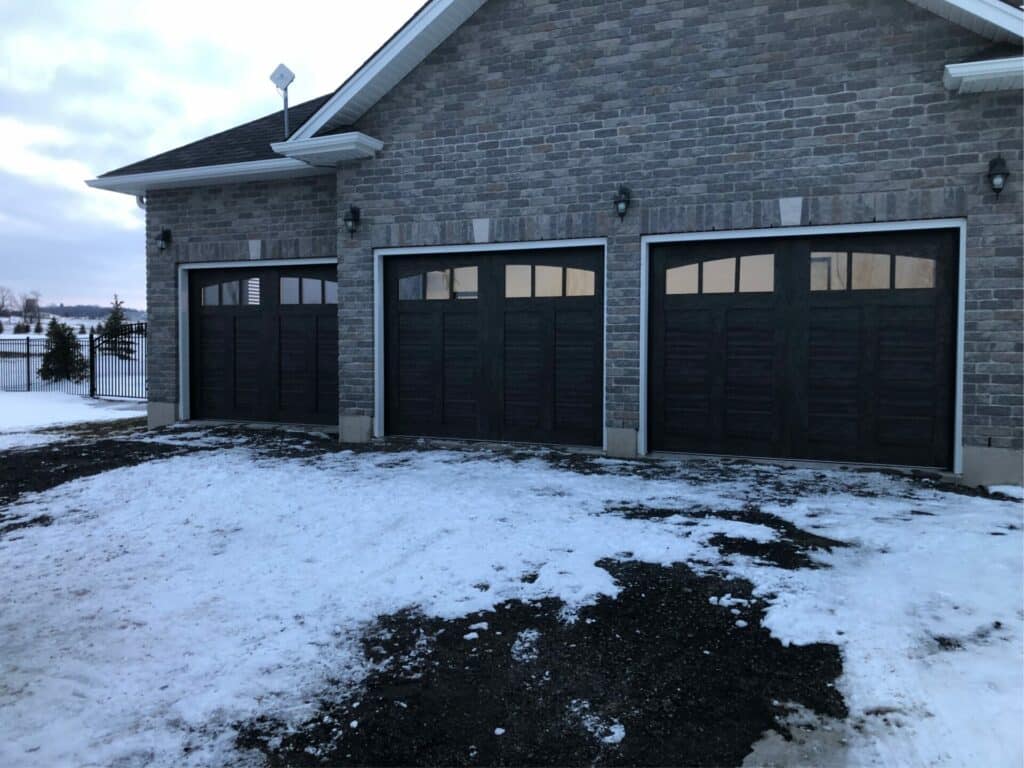
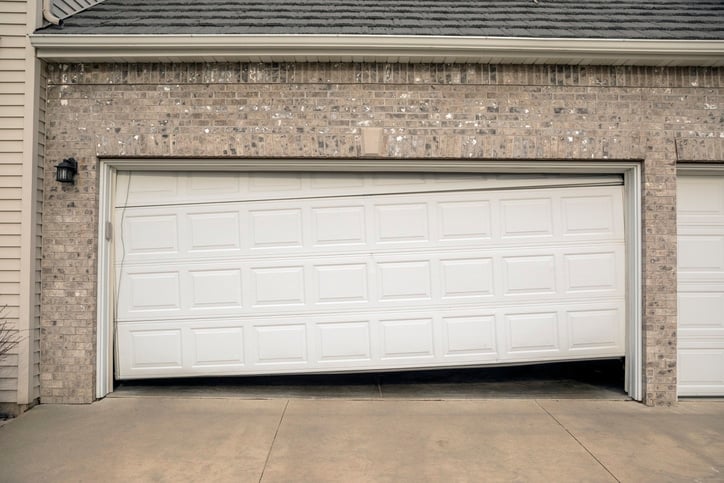
Identifying Common Problems
Some common issues with garage door weather stripping include cracking due to exposure to sunlight, wear and tear from daily use, pests gnawing on the rubber material, or having been installed incorrectly in the first place.
To better understand it, let’s think of your car- when it needs servicing, do you wait until it breaks down, or are you regularly checking oil levels and tire pressure?
Similarly, checking your garage doors every now and then saves you from experiencing more significant problems down the road.
If you notice any of these issues, you’ll need to replace your weather stripping. In some cases, a quick-fix solution such as applying a sealant may suffice. However, in most cases, it’s best to replace the entire strip to ensure maximum longevity.
Not sure how severe or extensive the damage is? Call in professionals such as Canadoor Garage Doors who could come out and assess the situation for themselves. They can also provide expert advice on how to avoid weather stripping damage in the future.
Some people may think that identifying and repairing garage door weather stripping is a tedious task, but leaving it unattended could result in both expensive repairs and high electricity bills as the cold air enters, ruining your heating efficiency.
Regularly checking and maintaining your garage door weather stripping can save you from experiencing more significant problems down the road. Issues such as cracking, wear and tear, or pest damage can lead to energy inefficiency and costly repairs. If you notice any issue with your garage door weather stripping, it’s best to replace the entire strip rather than applying a quick fix solution. Consulting professionals such as Canadoor Garage Doors can help assess the issue and provide expert advice on how to avoid weather stripping damage in the future. Don’t neglect your garage door weather stripping, as it could result in expensive repairs and high electricity bills.
Choosing the Right Repair Method
Repairing your garage door weather stripping can be a simple and effective way to prevent drafts and save energy costs. However, before diving into the repair process, it is crucial to identify the right repair method for your particular situation. The following factors should be considered when choosing the right repair method for your garage door weather stripping.
First, consider the type of weather stripping used on your garage door. Common types include foam, vinyl, rubber, and metal. Each type requires a specific repair method based on its material properties. For example, foam weather stripping may only require minor repairs using adhesive or caulk, while metal or vinyl stripping may need to be replaced entirely.
Secondly, assess the severity of damage to the weather stripping. If there is just minor wear and tear or small holes in the stripping, a simple patch or adhesive fix may suffice. In contrast, if there is significant damage such as large cracks or broken sections of the stripping, replacement may be necessary.
Thirdly, evaluate your personal skill level and experience with repairs. Some repair methods, such as adhesive fixes or basic patch jobs, are straightforward and can be completed by most individuals without specialized skills or tools. Other methods such as complete replacement or adding new tracks demand more knowledge and expertise and may require professional assistance.
Think about it like this: If you’re an avid DIYer who has successfully tackled similar garage door repair projects before, feel free to take on this task yourself. However, if you’re not too confident in your abilities or lack expertise in this area, it may be wise to seek professional assistance.
Now that we’ve identified what factors to consider while choosing the appropriate weather-stripping repair method, let’s move on to practical steps for repairing your garage door’s weather stripping.
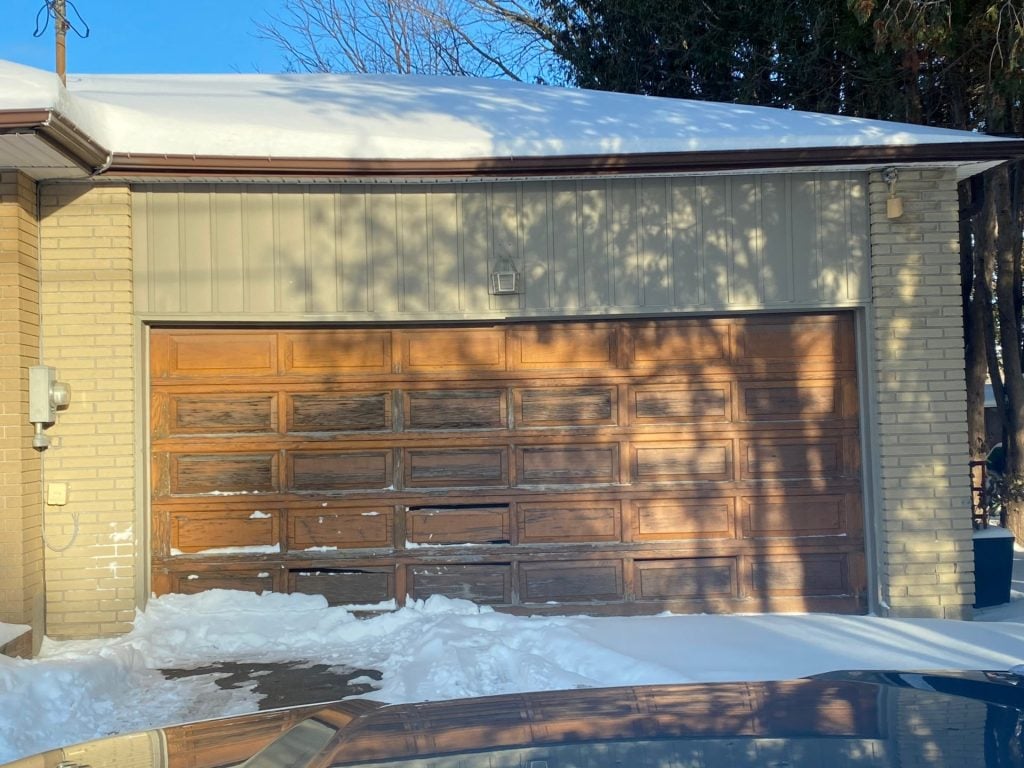
Step-by-Step Weather Stripping Repair
Repairing weather stripping can be an effective solution to stop drafts and improve energy efficiency around your garage door. Here are five easy steps for repairing your garage door’s weather stripping.
Step 1: Gather Necessary Tools and Materials
Before initiating the repair process, it’s essential to gather all necessary tools and materials beforehand. This includes a replacement weather stripping kit or adhesive/caulk sealant – depending on the chosen repair method – a pair of pliers, gloves, safety goggles, scissors, and a utility knife. It is also necessary to wear gloves or protective clothing when handling adhesives or caulk.
Step 2: Remove the Old Weather Stripping
After gathering all necessary materials, pull out the spoiled weather stripping. If you are seeking to preserve good-quality portions of the old weather-stripping, use a utility knife or blade cutter for cutting them from the damaged sections.
Step 3: Prepare the Area for New Weather Stripping
With your hands, remove any dirt or residue left on the track where you’ll be installing new weather stripping. After cleaning, make sure that the area is dry before proceeding with any other step.
Step 4: Install New Weather Stripping
Now that you’ve assessed the type of weather stripping needed based on a few factors like material type and level of damage, let’s install new weather stripping as per instructions provided by the manufacturer available in the kit or following professional application instructions available online. Depending on the selected repair method – adhesive versus new tracks – make sure to apply sufficient pressure while holding it over until it completely adheres to the surfaces.
Step 5: Test Completion
After installation, open and close your garage door several times to check whether there are no malfunctions present in its working mechanisms due to the newly installed methods.
Remember, proper weather stripping repair and maintenance will prevent drafts and save energy over time, which can help you avoid higher costs later.
Now that you’ve learned a step-by-step guide for repairing your weather stripping, roll up your sleeves to get the job done yourself, or contact professionals at Canadoor Garage Doors in case of any difficulty performing the task.
- According to a study conducted by the US Department of Energy, properly installed and maintained garage door weather stripping can reduce energy consumption by up to 15% for attached garages in heating-dominated climates.
- A 2017 survey by the International Door Association found that over 70% of homeowners considered energy efficiency as an essential factor when choosing or repairing a garage door, including its weather stripping.
- Research conducted by the Residential Garage Door Manufacturers Association (RGDMA) indicates that weather stripping maintenance and repair can extend the lifespan of a garage door by preventing moisture and debris from damaging the door itself and the surrounding structures.
Gather Necessary Tools and Materials
Before repairing your garage door weather stripping, it’s essential to gather the necessary tools and materials. Doing so will save you time and effort in completing the repair. Here is a list of essential tools and materials you will need to gather before starting your weather stripping repair:
Tools:
Safety goggles
Gloves
Prybar
Screwdriver
Pliers
Hammer
Utility knife or razor blade
Caulking gun
Measuring tape
Materials:
Replacement weather stripping (make sure to measure the perimeter of the garage door beforehand)
Liquid detergent or soap and water mixture for cleaning the area around the stripping removal site
Silicone adhesive caulking material
Now that you have all the tools and materials, it’s time to proceed with repairing your garage door weather stripping.
Follow the 5 Easy Steps
Step 1: Prepping for Weather Stripping Repair
Make sure that your garage door opener is unplugged from its power source before you start removing its weather stripping. You don’t want any accidents happening while you are making your repairs. You should also use safety goggles and gloves to protect yourself from getting injured.
Step 2: Removing Old Weather Stripping
Use a razor blade or utility knife to remove the old, worn-out weather stripping by cutting through one end piece of it along with all attaching screws holding it in place, if there are any. Make sure to cut it cleanly off the entire perimeter circumference of your garage door’s bottom edge. Then gently remove any remaining pieces left over using pliers or a pry bar.
If there are any attachments on nails holding up portions of the upper parts of the seal mast on each side, take them out by gripping them tightly with pliers, then pull gently outward towards yourself until they pop loose. In case there are stripped-out screw holes or tabs broken off during removal, you should replace them with new ones.
Step 3: Preparing for New Weather Stripping
Using a liquid detergent or soap and water mixture, clean the area around the stripping removal site. This will help ensure that your new weather sealing material adheres to the surface properly. Also, measure the length of your current weather strip prior to removing it; this way you’ll know how much to purchase (take into account any necessary overhang).
Step 4: Installing New Weather Stripping
Next, install the new weather stripping by securing it in place with screws or other fasteners if specified by manufacturer guidelines.
Alternatively, you can install it using silicone adhesive caulking material, which offers better adhesion under harsh weather conditions. Apply this adhesive to the backside of your weather sealing material before placing it along the full length of your garage door’s lower edge.
Step 5: Testing Your Weather Stripping Repair
Once you have installed your new weather stripping properly, test it by doing various checks from different angles. Check carefully for any gaps between your strips and your garage floor. Make sure that there are no noticeable gaps, as that would render the repair inconsequential.
Weather stripping could be seen as like a surgical stitch on a wound. You want to make sure that all pieces are in place perfectly and with great detail because any carelessness could lead to an imperfect seal as well as open space where winds and critters could come in.
Remember that proper installation will prevent heat loss in colder seasons while keeping all unwanted elements out, so take time to ensure proper placement and alignment before securing each cold-weather piece into place.
Tips for Maintaining Garage Door Weather Stripping
Maintaining garage door weather stripping is crucial to prolonging the life of your garage door and ensuring it functions properly. Here are some tips for maintaining your garage door weather stripping:
Keep it clean: Dirt and debris can accumulate on your garage door weather stripping over time, impairing its functionality. To prevent this from happening, regularly clean your weather stripping using a soft brush or cloth, mild detergent, and warm water.
Check for damage: Inspect your weather stripping periodically for signs of wear and tear. If you notice any cracks, tears, or other damage, repairing or replacing the damaged weather stripping immediately can save you from significant problems later on.
Avoid harsh chemicals: While cleaning your weather stripping with a mild detergent is safe, avoid using strong chemicals such as bleach or ammonia. These chemicals can cause degradation and may weaken the structure of the material.
Protect against UV rays: Garage door weather stripping that’s exposed to direct sunlight can break down faster than stripping kept away from UV rays. Consider installing blinds or curtains to block the sunlight or apply a protective coating to protect against UV damage.
When to Consider Professional Help
While minor weather stripping repairs are often manageable on your own, certain situations call for a professional’s attention. Consider reaching out to Canadoor Garage Doors if:
- The weather stripping has significant cracks, tears, or gaps that a simple patch or adhesive fix won’t resolve.
- You’re unsure of the correct type or size of replacement stripping needed for your specific door model.
- Misalignment has caused ongoing gaps, drafts, or moisture issues that keep returning even after previous repairs.
- The stripping is damaged alongside other components, such as tracks, panels, or hardware, since these often need to be addressed together.
Knowing when to call in an expert saves you from repeat repairs and ensures your garage door remains properly sealed, insulated, and protected against the elements for years to come.
What Our Customers Have to Say
About Canadoor Garage Doors
Canadoor Garage Doors specializes in residential garage door installations. Since 2009, our reputation has been built on superior quality garage door system installation and reliable service repairs. No project is too big or too small for our technicians. We provide complete residential overhead door solutions, including garage doors, openers, springs, cables, and additional hardware.
Weather Stripping Overview
The primary purpose of weather stripping is to keep your garage door insulated and able to maintain a comfortable temperature inside. In addition, weather stripping also helps to keep out pests and other critters that might try to make their way into your garage and your home. There are a few different types of weather stripping that can be used on garage doors:
Types of Weather Stripping
There are two main types of weather stripping used on garage doors:
V-shaped weather stripping is most common. It’s made of flexible vinyl or rubber and is designed to fit snugly into the door’s metal track. Over time, it can become brittle and crack.
Bulb-style weather stripping has a slightly different design. It’s similar to the V-shaped variety but has a small bulb of air at the bottom that acts as an additional buffer against water, wind, and debris. This type is less common but tends to be more durable than V-shaped weather stripping.
How to Identify Damaged Weather Stripping at Home
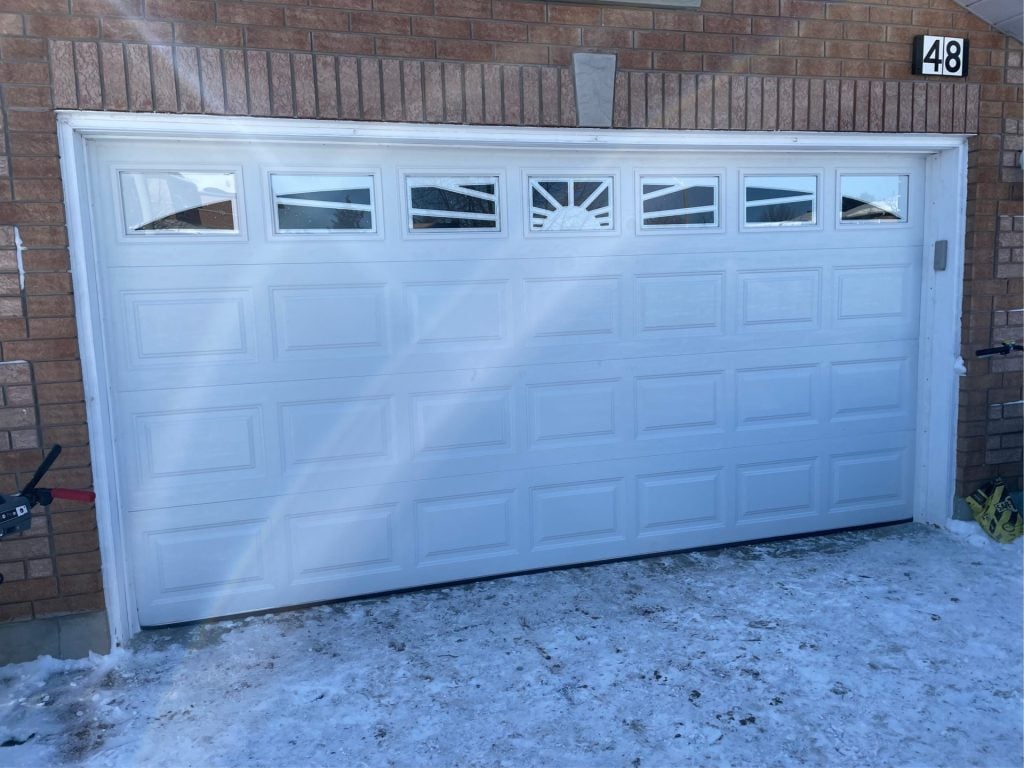
There are a few telltale signs that your garage door’s weather stripping needs to be repaired or replaced:
- Gaps or cracks in the sealant
- Fraying or peeling at the edges
- Visible wear and tear
If you notice any of these problems, it’s best to call a professional garage door repair company to identify the root cause of the issue and repair any problems.
Fixing Damaged Weather Stripping
Small Repairs
For minor damage, such as small cracks or tears, you may be able to use clear silicone caulk or another sealant to fill in the problem areas. Just be sure to follow the manufacturer’s instructions carefully and allow plenty of time for the sealant to fully dry before using your garage door again.
Replacement
If the damage is more significant, you may need to replace the entire strip of weatherstripping. This is a relatively easy fix that you can do yourself — just be sure to measure carefully so you get the right size! If you’re unsure, we recommend that you call a professional for help.
Warped Panels & Misalignment
In some cases, damage to weather stripping may be indicative of a more serious issue with your garage door (such as warped panels or a misaligned opener). If you’re not sure what’s causing the problem, it’s always best to contact a professional for an inspection.
Call a Garage Door Repair Specialist
If you notice any damage to your garage door’s weather stripping, it’s important to take action right away. By making repairs or replacements as needed, you can help to keep your door in good condition for years to come. If you’re ever unsure of what to do, don’t hesitate to call a professional for help.