
How Often Should You Test Your Garage Door’s Auto-Reverse? 6 Safety Checks to Do Every Month
Test your garage door’s auto-reverse every month. Every major opener manufacturer prints this instruction in the owner’s manual, and it applies for the entire life of the opener. The full monthly routine takes about two minutes and covers six checks: the contact reversal test, the photo eye test, the force setting test, the manual balance and emergency release test, a visual inspection of the cables and springs, and a look at where your wall control and sensors are mounted. Your door has two independent safety systems, and both can fail without any warning sign. Monthly testing is the only way you find out before someone else does. It is also the cheapest garage door repair you will ever avoid, because the checks that fail first are usually the ones warning you about garage door spring and cable repair work, and those are the components no homeowner should ever touch.
Key takeaways
- Monthly, not annually. Two minutes, twelve times a year. This is the most important garage door task a homeowner does, and the one most often skipped entirely.
- Your door has two safety systems, and they fail silently. A door with dead photo eyes and a mis-set force limit looks and sounds completely normal until the moment it needs to stop.
- A failed test is never fixed by adjusting the force setting. Turning up the force to stop nuisance reversals disables the exact protection you were testing.
- The heaviest moving object in most homes. A double door weighs between 150 and 400 pounds depending on material and insulation, and it closes with a motor behind it.
- Never disable or bypass the photo eyes, including temporarily. Not with tape, not by aiming them at each other on the ceiling, not by unplugging one.
- Openers built before the early 1990s may have no secondary protection at all. If yours predates that, testing cannot make it safe. It needs replacing.
The 6 monthly checks at a glance
| # | Check | Takes | Passing looks like |
|---|---|---|---|
| 1 | Contact reversal test | 30 seconds | Door reverses immediately on touching a 2×4 laid flat |
| 2 | Photo eye test | 20 seconds | Door reverses the instant the beam is broken |
| 3 | Force setting test | 20 seconds | Door reverses against light resistance while closing |
| 4 | Balance and emergency release test | 45 seconds | Door holds position when released at waist height |
| 5 | Visual cable and spring check | 30 seconds | No fraying, no gaps, no rust bloom, cables seated on the drums |
| 6 | Mounting and placement check | 15 seconds | Photo eyes no higher than 6 inches, wall control at least 5 feet up |
1. The contact reversal test: does the door stop when it hits something?
Lay a piece of 2×4 flat on the floor in the middle of the doorway, close the door, and watch what happens when it makes contact. It must stop and reverse immediately. A flat 2×4 sits about an inch and a half high, which is the standard test height for this check.
This tests the opener’s mechanical sense of resistance, which is the backup to the photo eyes rather than the primary system. If the door hits the wood and keeps pushing, stops without reversing, or hesitates and then continues down, it has failed.
Use wood, not your foot, and not a family member’s hand. The point of the test is that you do not know whether the system works.
Call a pro if: the door fails, or if it passes only sometimes. Intermittent results are worse than a clean failure, because they usually mean a worn opener gear assembly or a travel limit drifting out of adjustment, and those get worse.
How do you test a garage door’s auto-reverse with a 2×4?
Lay the board flat, not on edge, centred under the door and running the same direction as the door’s travel. Close the door from the wall button so you are standing clear and can see the whole cycle. The door should touch the wood and go straight back up. Repeat once to confirm the result was not a fluke. This is the same procedure every opener manual describes, and it belongs in the monthly routine set out in How Often Should You Get Your Garage Door Serviced? An 8-Point Ontario Maintenance Schedule.
2. The photo eye test: does the beam actually stop the door?
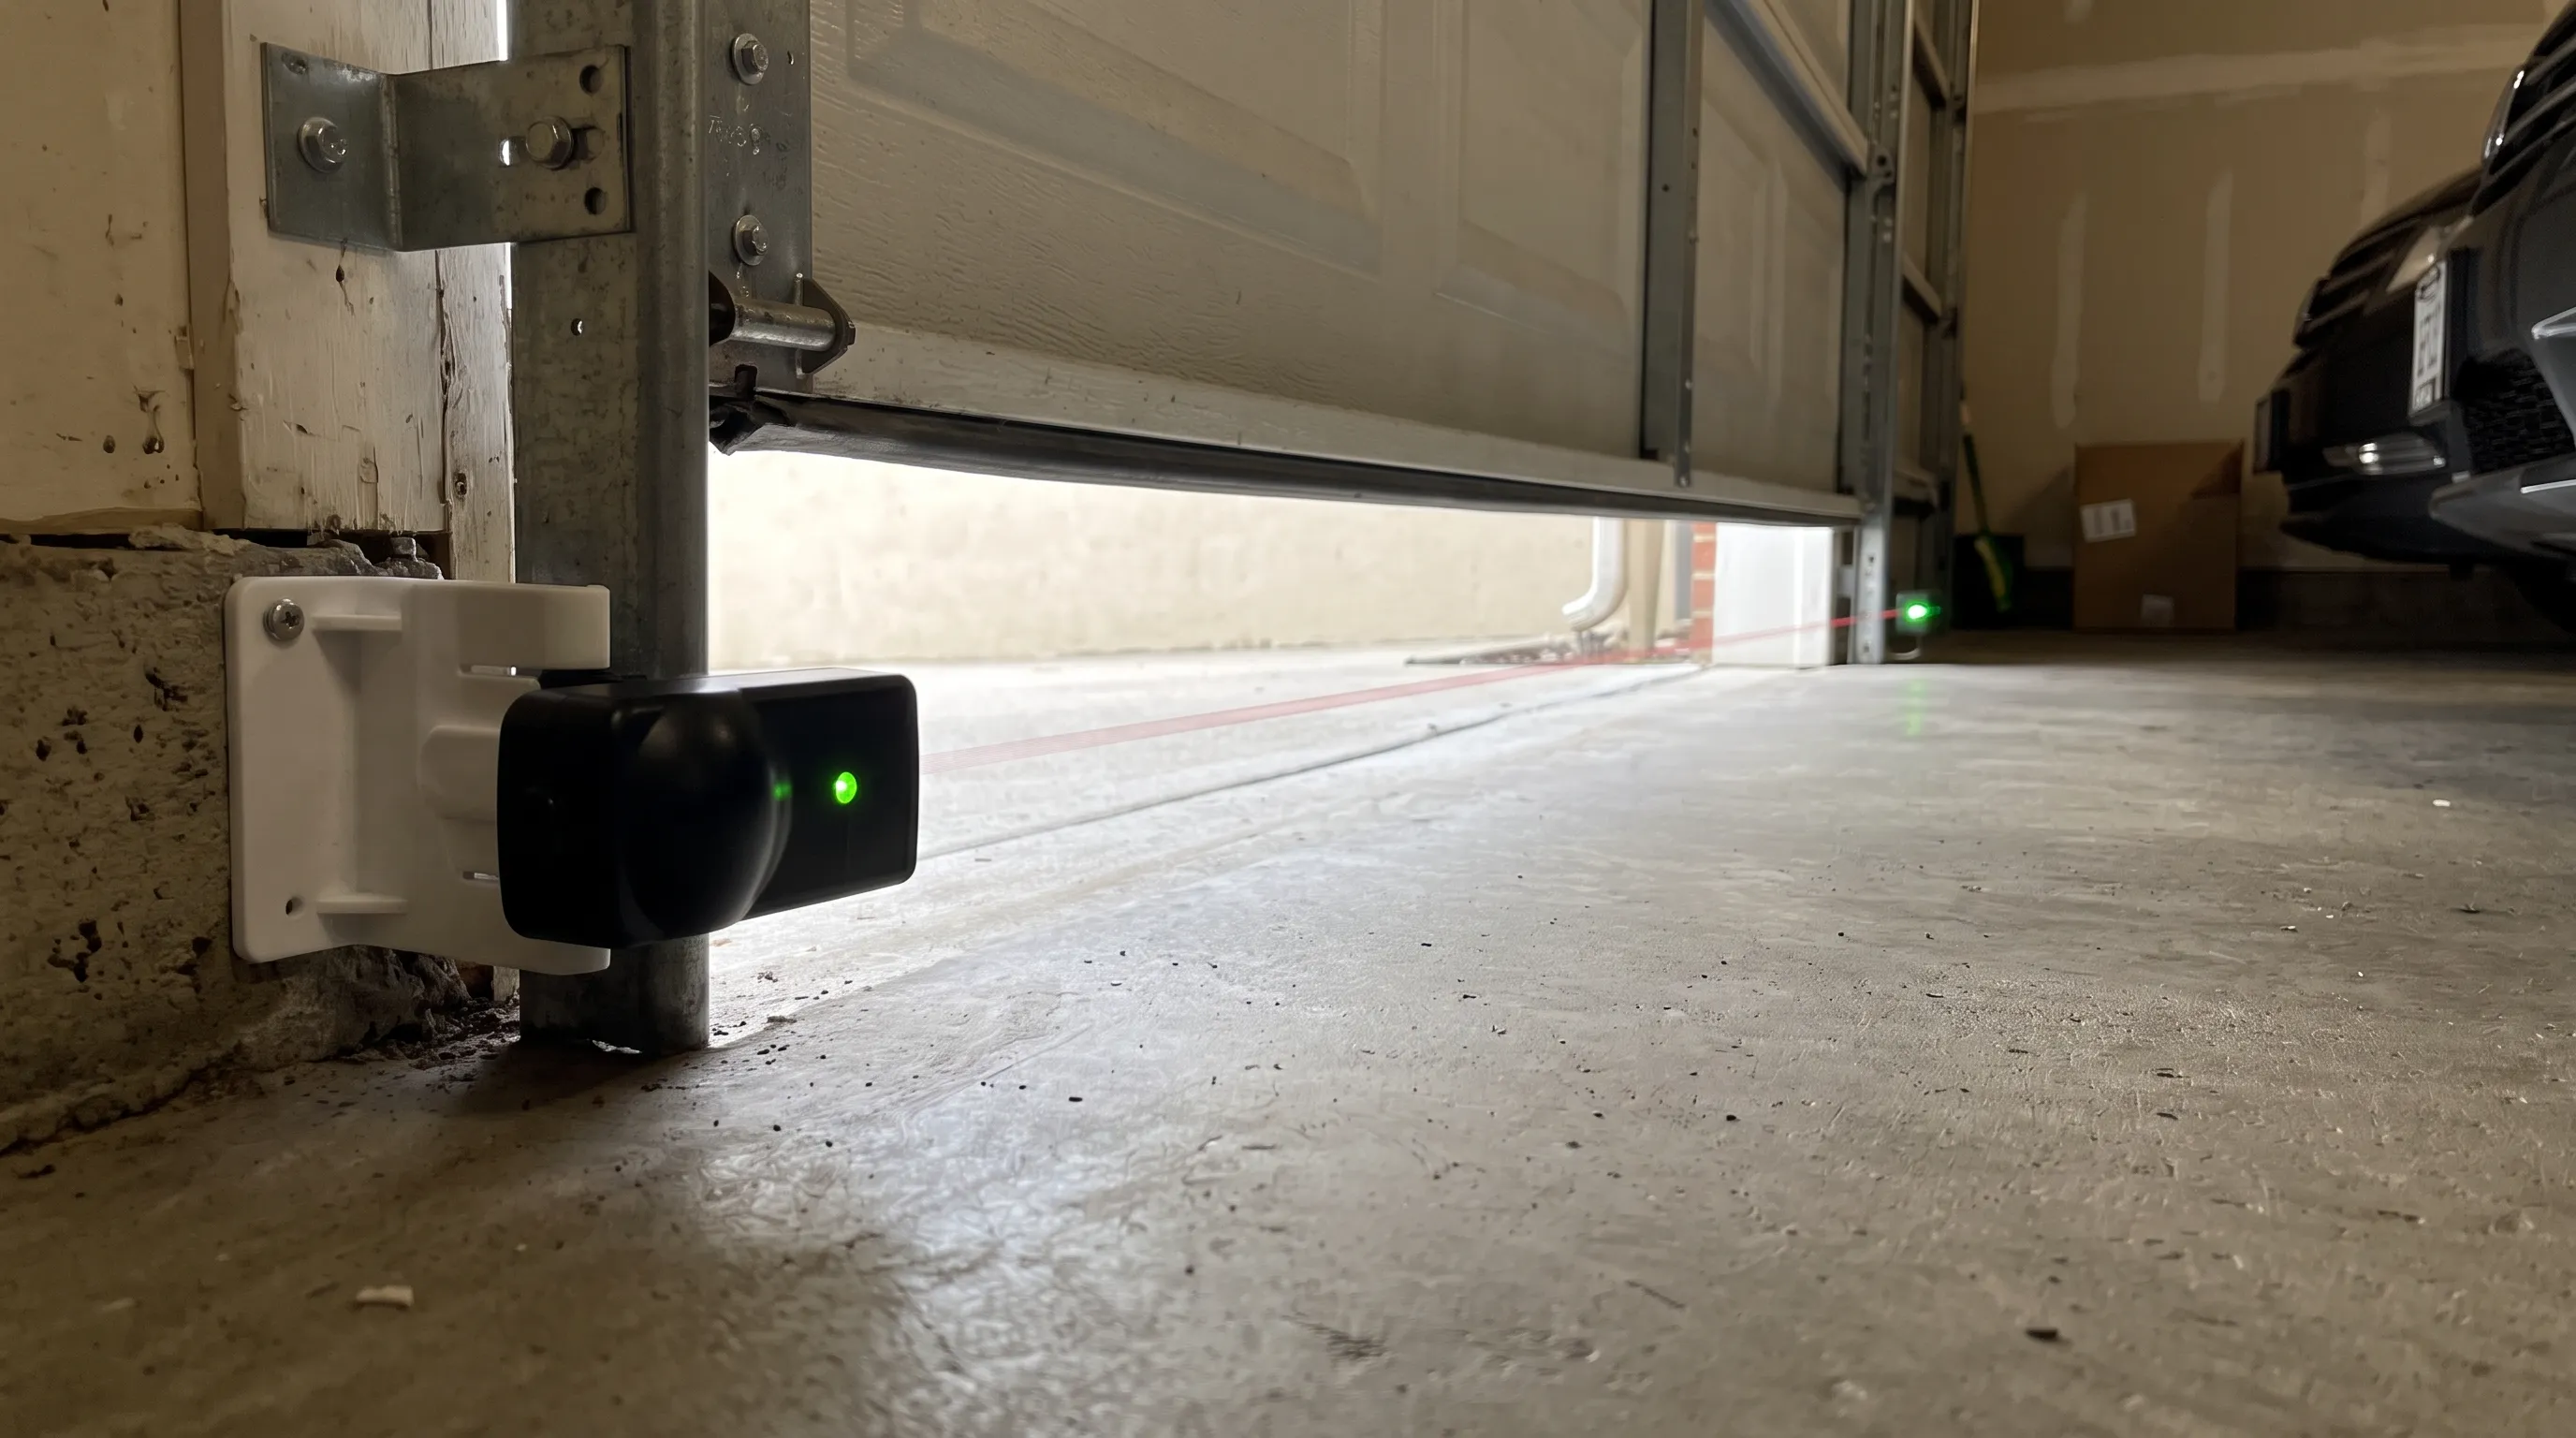
Start the door closing, then break the beam near the floor with a broom handle or a length of pipe. The door must reverse at once. The photo eyes are the two small sensors mounted on either side of the opening, and they are the primary safety system on every opener built in the last three decades.
Keep your hands and body out of the doorway when you do this. Reach in with the broom from the side.
A door that ignores the beam has either lost sensor alignment, has a dirty or fogged lens, has a damaged wire, or has a failed sensor. Alignment and dirt are the two most common, and both are things you can often sort out yourself.
Call a pro if: cleaning the lenses and checking alignment does not fix it, or if the wiring is damaged anywhere along its run. Our guide to fixing garage door sensor alignment covers the homeowner steps, and photo eye sensors explained covers how the system works.
Why does my garage door reverse when nothing is in the way?
This is the opposite failure, and it is one of the more frequent calls in this trade. A door that reverses on a clear path usually has photo eyes knocked slightly out of alignment, a lens fogged by condensation or road dust, sun glare hitting a sensor directly, or a track obstruction the door is binding on partway down. Work through those in order before assuming the opener is at fault. More detail in why your garage door is not closing properly and what to do when your door will not open or close.
3. The force setting test: is the opener pushing too hard?
With the door closing, press up gently on the bottom edge with a broom or a rolled towel. The door should sense the resistance and reverse. This checks the opener’s force setting, which is the amount of push it will apply before deciding something is wrong.
An opener set too aggressively will push through obstructions instead of reversing. This matters because force settings drift, and because they get deliberately turned up by people trying to stop a door that reverses for other reasons.
That last point is worth being blunt about. If your door reverses on its own and someone increases the force to make it stop doing that, the underlying fault is still there and the safety system has now been turned down to hide it. Fix the cause, never the symptom.
Call a pro if: the door does not respond to resistance, or if you suspect the force has been adjusted at some point to mask another problem. Force and travel limits are set to the door’s actual weight and travel, which is measured work rather than guesswork.
Why should you never adjust garage door opener force settings yourself?
Because the correct setting depends on the door’s true weight and how the springs are balanced, and both change as the door ages. Turning the force up compensates for a heavy or unbalanced door instead of fixing it, which hides a spring problem and puts the load on the opener. A door that has become hard for the opener to lift usually has a spring issue, covered in why your garage door is difficult to lift.
In an Ontario winter there is a second cause worth ruling out before anyone touches a force dial. Cold thickened grease adds real resistance on every moving part, so a door that started reversing in January may simply be overdue for lubrication rather than out of adjustment. The timing that prevents it is set out in How Often Should You Lubricate a Garage Door in Winter? A Seasonal Ontario Guide.
4. The balance and emergency release test
With the door fully closed, pull the emergency release cord, lift the door by hand to about waist height, and let go. It should stay put. This does two jobs at once: it confirms the release actually works, and it tells you whether the springs are still carrying the door’s weight.
The order is not optional. Always disconnect with the door closed. Pulling the release on a raised door can let it drop.
If the door slams down or shoots upward, the spring tension is wrong. If it holds, reconnect the opener by running it through one cycle. While you are there, check that the release cord is present, intact, and reachable, because it is the only way to open the door by hand in a power outage.
Call a pro if: the door will not hold position, feels heavy, or the release does not disengage. Spring work is not a DIY job under any circumstances, for the reasons set out in why garage door springs are so dangerous.
How do you test a garage door’s emergency release safely?
Close the door first, every time. Pull the red cord straight down until you feel the trolley disengage, then lift the door by hand using the handle or the bottom section, not the door’s edge or a panel joint. Bring it to roughly waist height and release. Reconnect afterwards by pulling the cord toward the door and cycling the opener once. If you have never used it, practising now is a good idea, because the time you actually need it will be a power outage in February.
5. The visual cable, spring, and roller check
Look at the cables, the springs, and the rollers once a month. You are looking for fraying, gaps, rust, and wobble. This is pure observation, no tools, no contact.
On the cables, look for broken strands, kinks, or a cable that has slipped off its drum. On the torsion spring above the door, look for a visible gap, which means it has broken, and for heavy rust bloom, which shortens its remaining life. On the rollers, watch for visible wobble or a roller that is not turning as the door moves.
Do not touch any of it. Cables and springs are under full tension whether the door is open or closed.
Call a pro if: you find any of it. A frayed cable or a gapped spring means stopping use of the door and booking service, not finishing the month out. Background reading: why garage door cables break and How Often Should Garage Door Rollers Be Replaced? 7 Signs Yours Are Worn Out.
What do frayed garage door cables look like?
Like a wire rope with individual strands broken and standing out from the bundle, often described as fishhooks or whiskers. Fraying usually starts near the bottom bracket or where the cable wraps the drum. A frayed cable is not a wait-and-see item, because when a cable lets go the door drops on one side and can come off its track entirely, as described in garage door roller off track repair.
6. The mounting and placement check
Confirm your photo eyes sit no higher than 6 inches off the floor and your wall control is at least 5 feet up, out of a child’s reach and within sight of the door. This takes fifteen seconds and it is the check almost nobody does.
Photo eyes mounted too high leave a gap underneath them big enough for a small child or a pet to be missed entirely. It happens more than you would expect, usually after someone repositions a sensor to stop nuisance reversals. The wall control height rule exists so the door is never operated by a child who cannot see what the door is doing. Both components are part of the safety system built into modern garage door openers, so where they sit matters as much as whether they work.
While you are looking, check that nothing is stored against the tracks and that the area under the door is clear. This is not only a safety point. A door that closes onto a bike, a bin, or a stack of firewood because the sensors missed it is one of the more common routes to garage door panel repair and replacement, and a creased bottom section costs considerably more than moving the clutter.
Call a pro if: the sensors have been relocated, wired oddly, or bypassed by a previous owner or a non-specialist installer. That last one is worth taking seriously, and the difference is covered in garage door technician versus handyman service.
How high should garage door photo eye sensors be mounted?
No more than 6 inches above the floor, which is the requirement under the UL 325 standard that opener safety systems are built to. Lower is better within that range. If yours are mounted higher, they are not covering the space they exist to cover, regardless of whether they test as working. The organization behind the technical standards for this equipment is the Door and Access Systems Manufacturers Association, and certification standards for technicians in this country come from the Canadian Door Institute.
What you can fix, and what needs a technician
| If this happens | You can | You cannot | Why |
|---|---|---|---|
| Door ignores the photo eye beam | Clean the lenses, realign the brackets, check for a pinched wire | Replace a failed sensor or repair damaged wiring | Sensor circuits are low voltage but must be matched and correctly polarised |
| Door reverses on a clear path | Clean lenses, check for sun glare, clear track obstructions | Adjust force to stop it | Increasing force disables the protection instead of fixing the cause |
| Door fails the 2×4 test | Retest to confirm | Adjust travel limits or force settings | Limits are set to measured door weight and travel |
| Door will not hold at waist height | Note it and stop using the opener until seen | Touch the springs or cables | Torsion springs store enough energy to cause serious or fatal injury |
| Frayed cable or gapped spring | Stop using the door | Any part of the repair | Cables and springs are under full tension at all times |
| Photo eyes mounted too high | Nothing, book it | Relocate them yourself | Repositioning affects the wiring run and the protected zone |
| Opener predates the early 1990s | Nothing | Make it compliant by testing | Openers of that era may have no secondary entrapment protection to begin with |
| Emergency release will not disengage | Nothing | Force the trolley | A jammed trolley usually indicates a binding door or a failing carriage |
What to do if your door fails a test
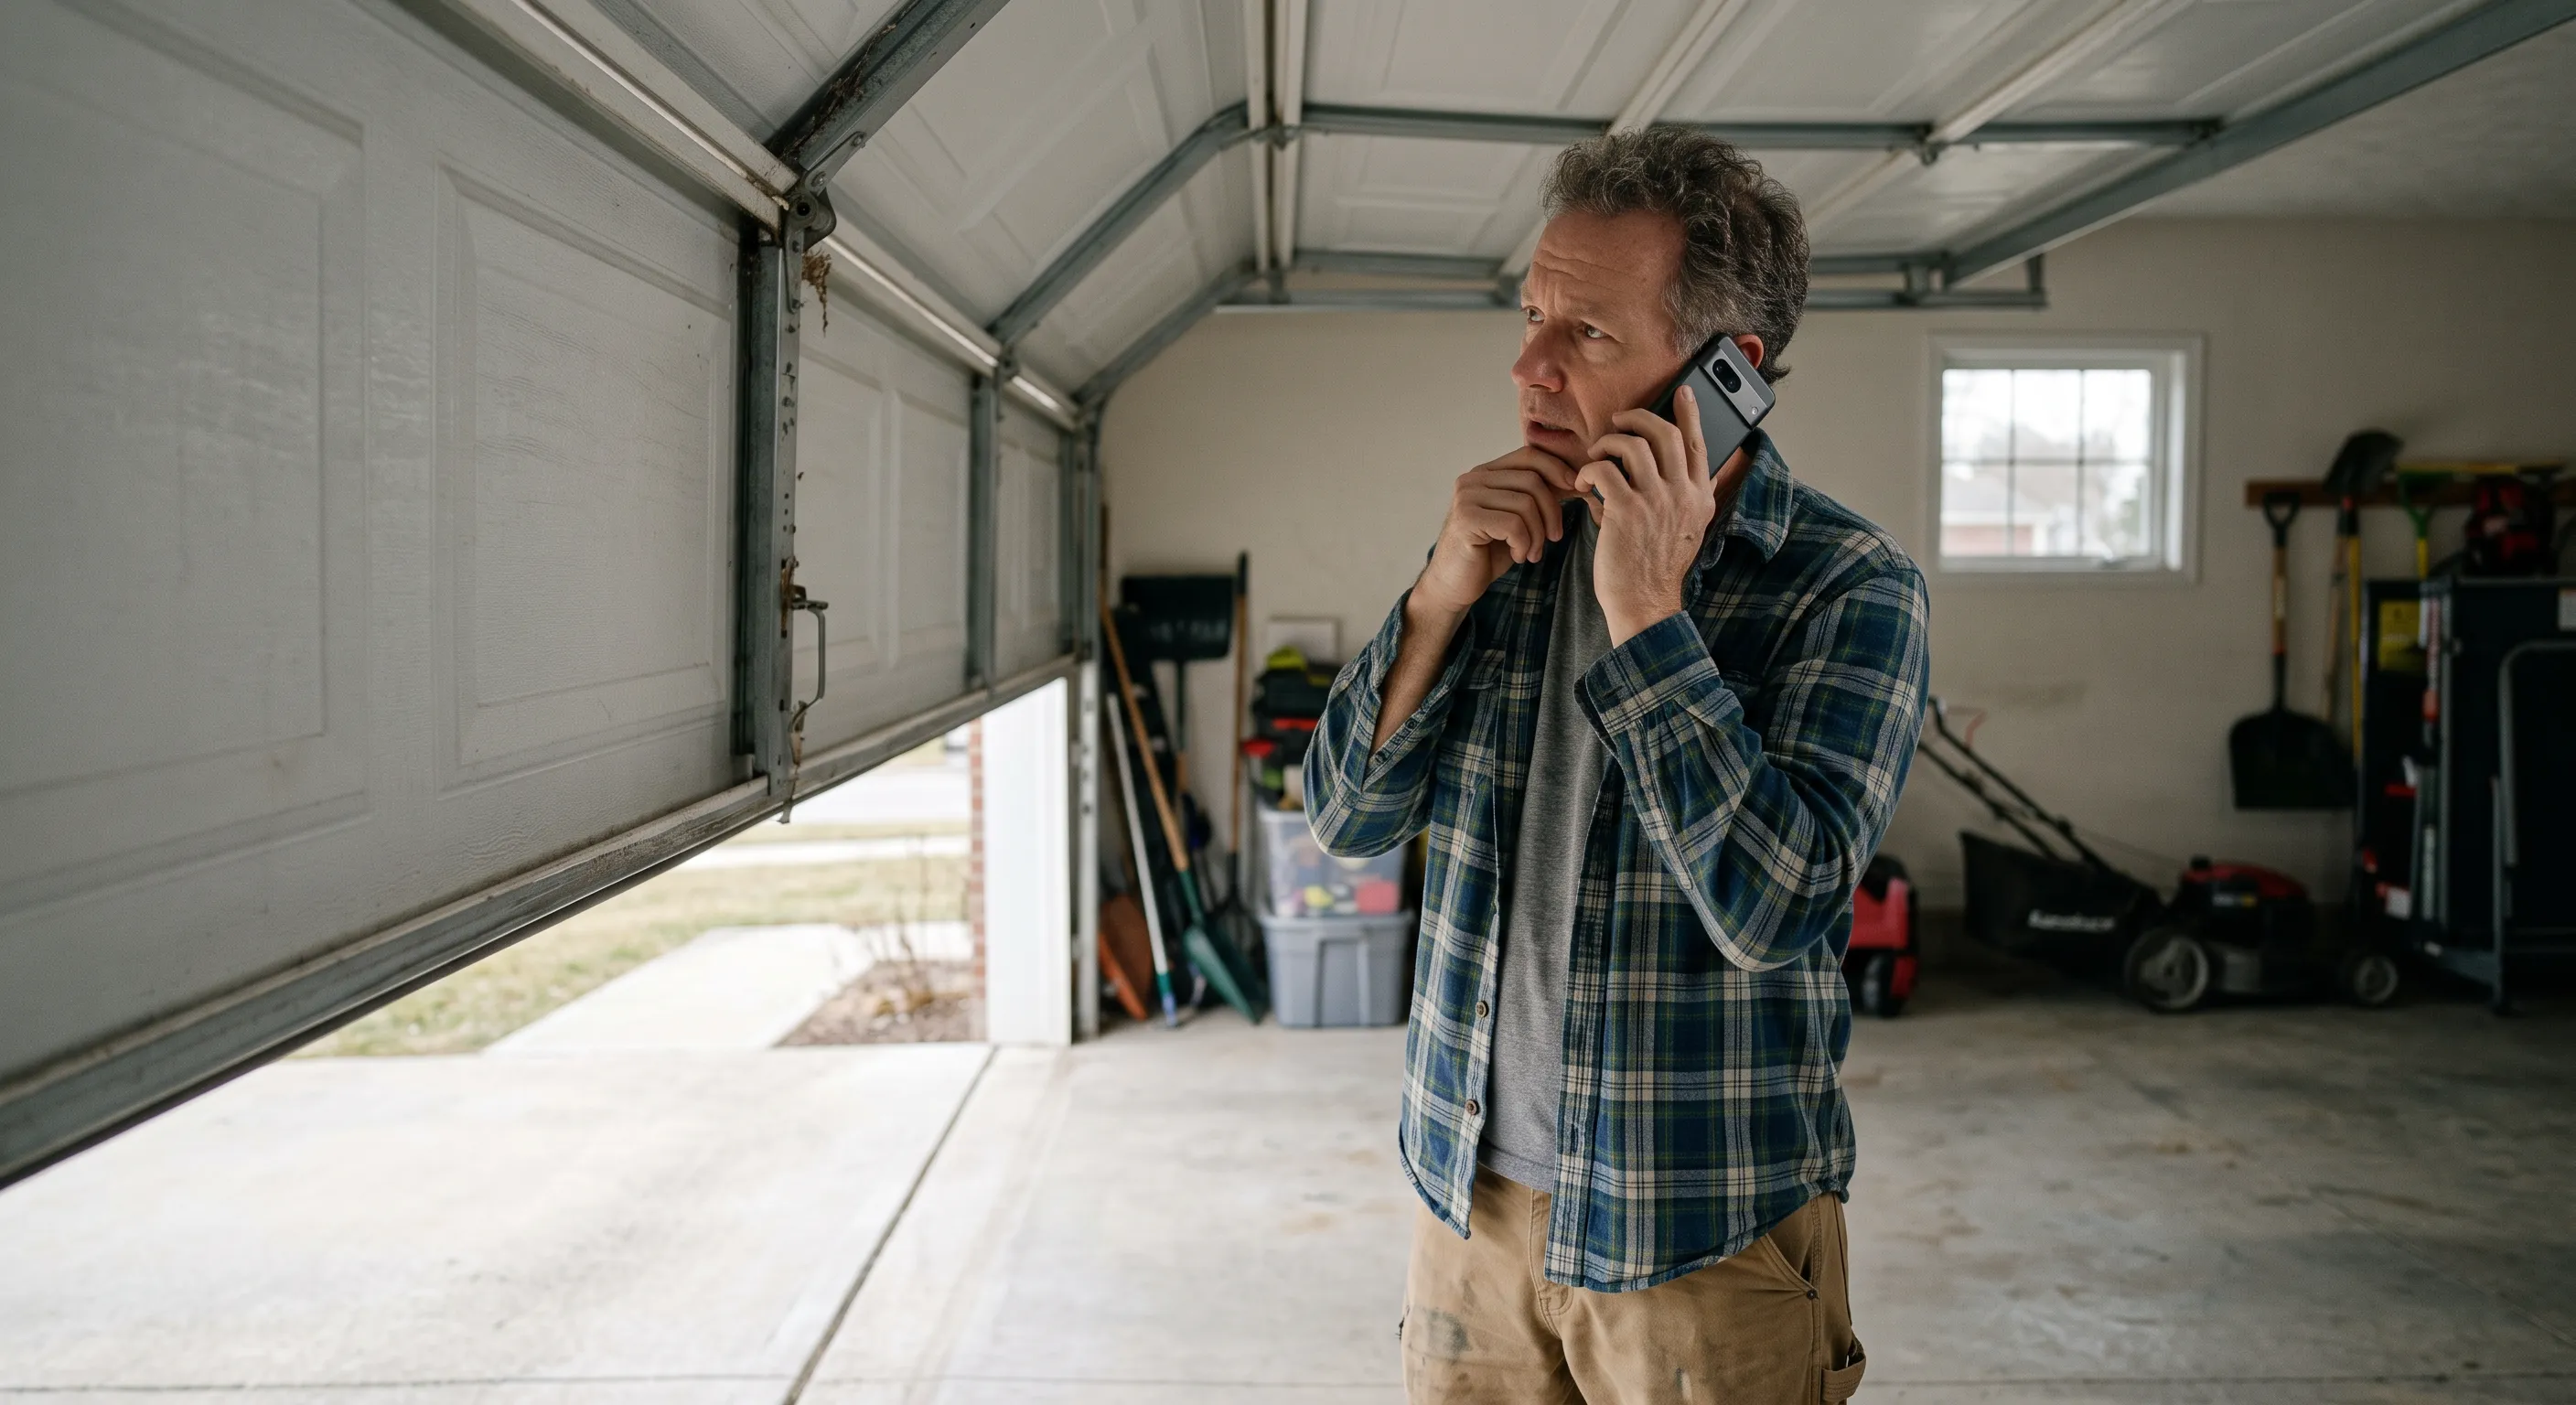
Stop using the opener and book service. That is the honest answer, and it is shorter than most people want it to be.
A door that fails a reversal test is not a door with a minor fault. It is a several-hundred-pound object with a motor behind it and no working stop. In the meantime you can operate it manually using the emergency release, which is exactly why check number four is on this list.
If your opener is old enough that it has no photo eyes at all, testing will not help. That generation of opener cannot be brought up to current safety expectations by adjustment, and replacement is the only real answer. Worth reading: are new garage door openers better than old style ones and how long should garage door openers last.
Canadoor Garage Doors has certified technicians across who test and adjust these systems as standard on every service visit.
Book a safety inspection or repair, or request a free quote if your opener is old enough that replacement is the better conversation. Same day service is available for doors that have failed a safety test.
Related reading: what to do when your garage door will not open or close, the most common problems with garage doors, and what the Canadian Door Institute certification covers.
Frequently asked questions
2. My door closes, then immediately opens again. What is that?
Almost always the photo eyes rather than the opener. Start with the lenses, which fog and collect dust, then check alignment, then look for a track obstruction the door binds on near the bottom. A blinking light or a beep on the opener head is often telling you which of the two systems triggered, and the manual will decode the pattern. See troubleshooting a beeping garage door opener.
3. Can I just disable the sensors until I get it fixed?
No, and this is worth being firm about. Bypassing the photo eyes removes the primary protection on the door and leaves the force setting as the only thing standing between the door and whatever is underneath it. If the door has to be operated in the meantime, use the emergency release and lift it manually.
4. Is it normal for the door to reverse in very cold weather?
It is common in an Ontario winter, and it is usually telling you something real. Cold thickens the grease on every moving part and stiffens the bottom seal, so the door meets more resistance and the opener reads that as an obstruction. The right fix is lubrication and a seal check rather than more force. See why your garage door struggles in winter.
5. How do I know if my opener is too old to be safe?
Look for the photo eyes first. If there are no sensors mounted near the floor on either side of the opening, the opener predates the requirement for secondary entrapment protection and has only its force setting to rely on. Check the date on the label on the opener head as well. Anything from the early 1990s or earlier is worth a replacement conversation. DASMA is the industry body behind the technical standards these safety systems are built to, and its published guidance is a useful reference point if you are trying to work out what your opener was required to have when it was made.
6. Will the 2x4 test damage my door or opener?
No. The board is there to be hit, and the opener is designed to sense the contact and reverse. That is the whole point. If contact with a piece of wood damages something, the door had a problem before you tested it. One thing worth adjusting for is timing: run the test on a mild day rather than during a deep freeze, because cold-stiffened seals and thickened grease can produce a false reversal that tells you nothing about the safety system. Historical temperature data for your area is available from Environment and Climate Change Canada.
7. My kids press the button. Should I be worried?
It is worth teaching them that the door is not a toy and that they should never stand under a moving door or try to beat it. It is also why the wall control belongs at least five feet up, and why loose remotes are better kept out of reach than left in a car a child can access. On the security side, see how to burglar proof a garage door.
8. The door works fine. Do I still need to test it?
Yes, and this is the part that catches people out. "Works fine" describes the opening and closing, not the safety systems, and those only reveal themselves when something is in the way. A door can operate perfectly for years with completely dead photo eyes and nobody would know.
9. My door opens by itself sometimes. Is that a safety problem?
It is worth chasing down. The usual causes are a stuck wall button, a remote jammed against something in a car or a bag, interference on the frequency, or an older opener with a fixed code. Modern openers use rolling codes, which largely closed that door. See why does my garage door open itself at night.
10. Does a professional service visit include these tests?
It should, on every visit. A proper tune-up verifies both reversal systems, checks and sets the force and travel limits against the door's measured weight, and inspects the cables and springs. If a service visit has not included a reversal test, it was not a full tune-up. More on what to expect in why garage door maintenance is essential.